It’s nearly snow time – and for many in the U.S. and Canada, it’s already snowing.
Is your snowblower ready for winter?
Even if your snowblower was working fine the last time you used it, it’s wise to check it now.
A lot can happen in storage for extended periods. When the frigid temps and snow arrive, the last thing you’ll want to deal with is a broken snowblower.
Take time now to inspect and start your snowblower. If repairs are needed, do them now – before the inevitable winter outdoor power equipment repair scramble.
How to fix your broken snowblower
If your snowblower won’t start or if it’s starting and then stopping or any other common malfunction, you’ll find help on our site. Enter your snowblower or snow thrower’s model number in our website’s free troubleshooting and repair help section. There, you’ll choose from a series of symptoms (i.e. won’t start, starts and then stops, auger won’t spin, etc.) and watch expertly-produced videos to learn the most likely causes and conditions and purchase the correct part to fix the problem.
Note: The most common cause of a snowblower not starting after storage is stale fuel. That’s why it’s so important to add fuel stabilizer to fresh fuel before storage.
How to tune-up your snowblower
Be sure to consult your owner’s manual for recommended maintenance steps for your specific model. There are some differences in maintenance for single-stage and dual-stage models. For most models, the following steps are recommended:
1. Replace the fuel filter.
Fuel filters should be replaced at least once a year because it is nearly impossible to determine if they are clogged. They cannot be cleaned.
2. Inspect the scraper blade, slide shoes and other parts for wear.
Do a thorough job checking the scraper blade and slide shoes (a.k.a. skid shoes) for wear. These parts have the important job of protecting the housing from damage. Replace these parts if they have worn dangerously thin or are damaged beyond repair. You can find replacement parts for your model here.
3. Replace the oil, if necessary.
Inspect the condition of the engine oil. It should be golden or amber. If it’s not, replace it.
Before replacing engine oil, check your owner’s manual for the recommended way to tilt the snowblower. It varies from model to model. Unscrew the drain plug and release the oil into a bucket. Replace the plug and add fresh oil, as recommended by the manufacturer.
Used oil should be recycled. Most small engine repair shops have a free recycling program. Call your local shop for more information.
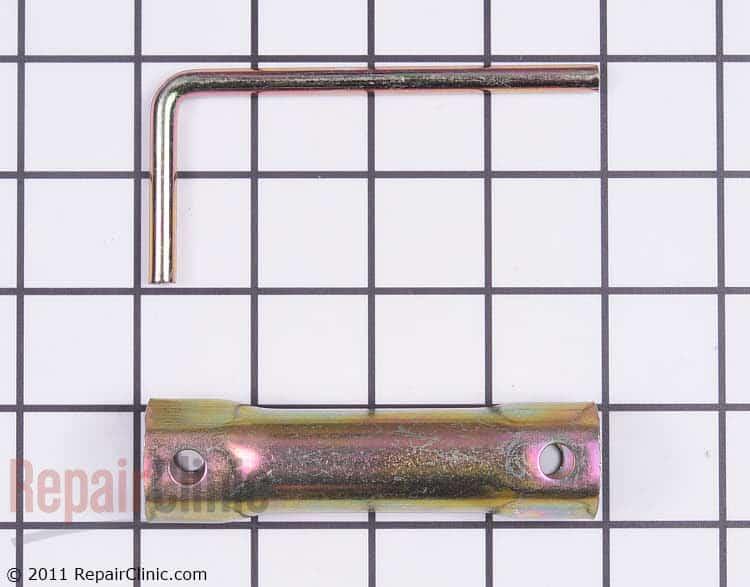
4. Replace the spark plug.
The tiny but mighty spark plug should be replaced at least one per season, even if it appears to be working fine. Over time, a spark plug’s performance will degrade due to carbon build-up and a weakened electrode. This dramatically increases emissions, reduces engine performance and requires the engine to use more fuel.
This Spark Plug Wrench (#1644997) enables you to more safely and efficiently remove or tighten a spark plug in your snowblower, lawn mower or other small engine.
5. Check the auger.
For single-stage models, take a look at the auger paddles. If they have worn down so much that they no longer contact the ground, they should be replaced. Never let the rubber wear to a point that metal is exposed. That can cause major damage. RepairClinic has replacement auger blade-rubber parts.
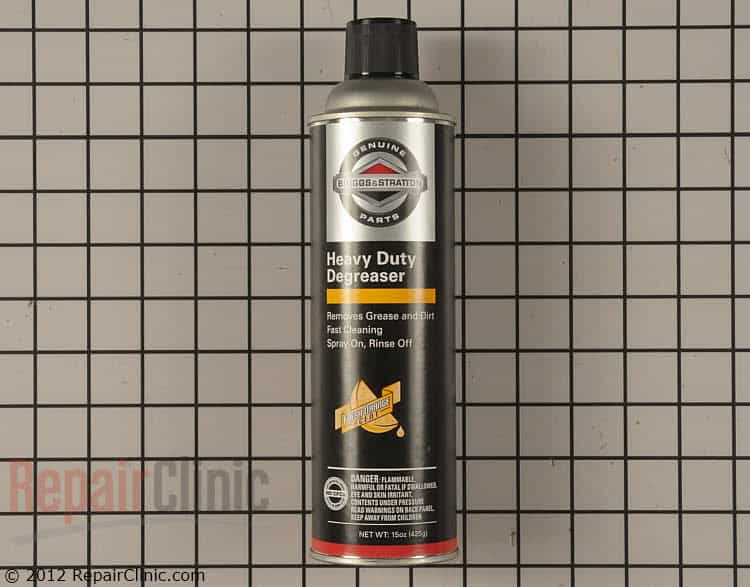
6. Remove dirt and grime.
Spray degreaser on greasy, dirty areas. Allow the degreaser to sit for 10-15 minutes. Then wipe the grease off with a clean cloth.
7. Check and close the fuel cap (if applicable).
Check the fuel cap for damage. If the air vent holes are restricted, replace the fuel cap.
8. Check the tires.
Check the tires for wear. If your snowblower has pneumatic tires, use a tire pressure gauge to check the air pressure.
9. Lubricate bearings
If required for your model, lubricate wheel bearings, auger bearings and in dual-stage models, impeller bearings.
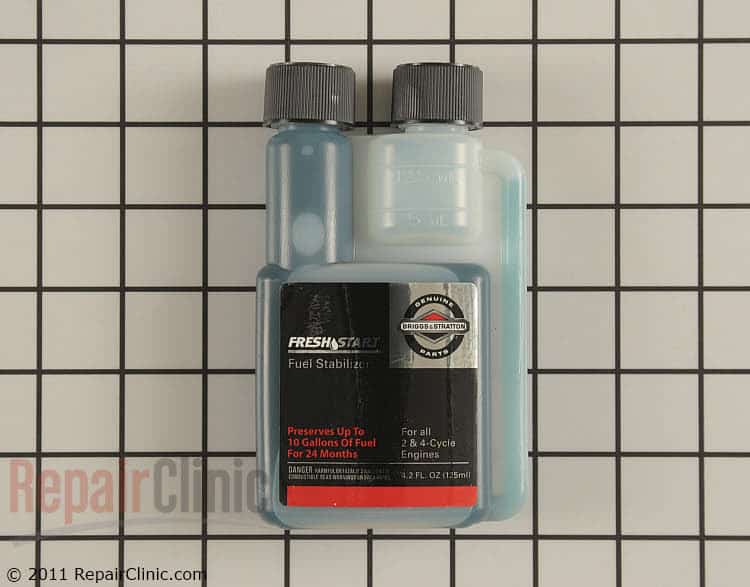
10. Add fresh fuel and fuel stabilizer.
The addition of fuel stabilizer will slow build up, prevent clogging in the fuel lines and keep fuel fresher longer. After adding the stabilizer, be sure to run the engine for a few minutes so the treated fuel can reach the carburetor. Enter your engine model number to find the fuel stabilizer recommended specifically for your engine.
This Briggs & Stratton fuel stabilizer works well and treats up to 10 gallons of fuel.
Related information
How to prep your lawn mower for storage
Important snowblower safety tips
Comments are closed.